Wintry Wednesday 2 – Christmas Décor Ideas| cherryblossom15

Hello! Once again I must start this post with an apology. If you hadn’t already noticed in the rather blatant title, this post is a day late! I have been very busy with life and stuff, but better late than never…

IMG_1113   IMG_1116IMG_1132   IMG_1118

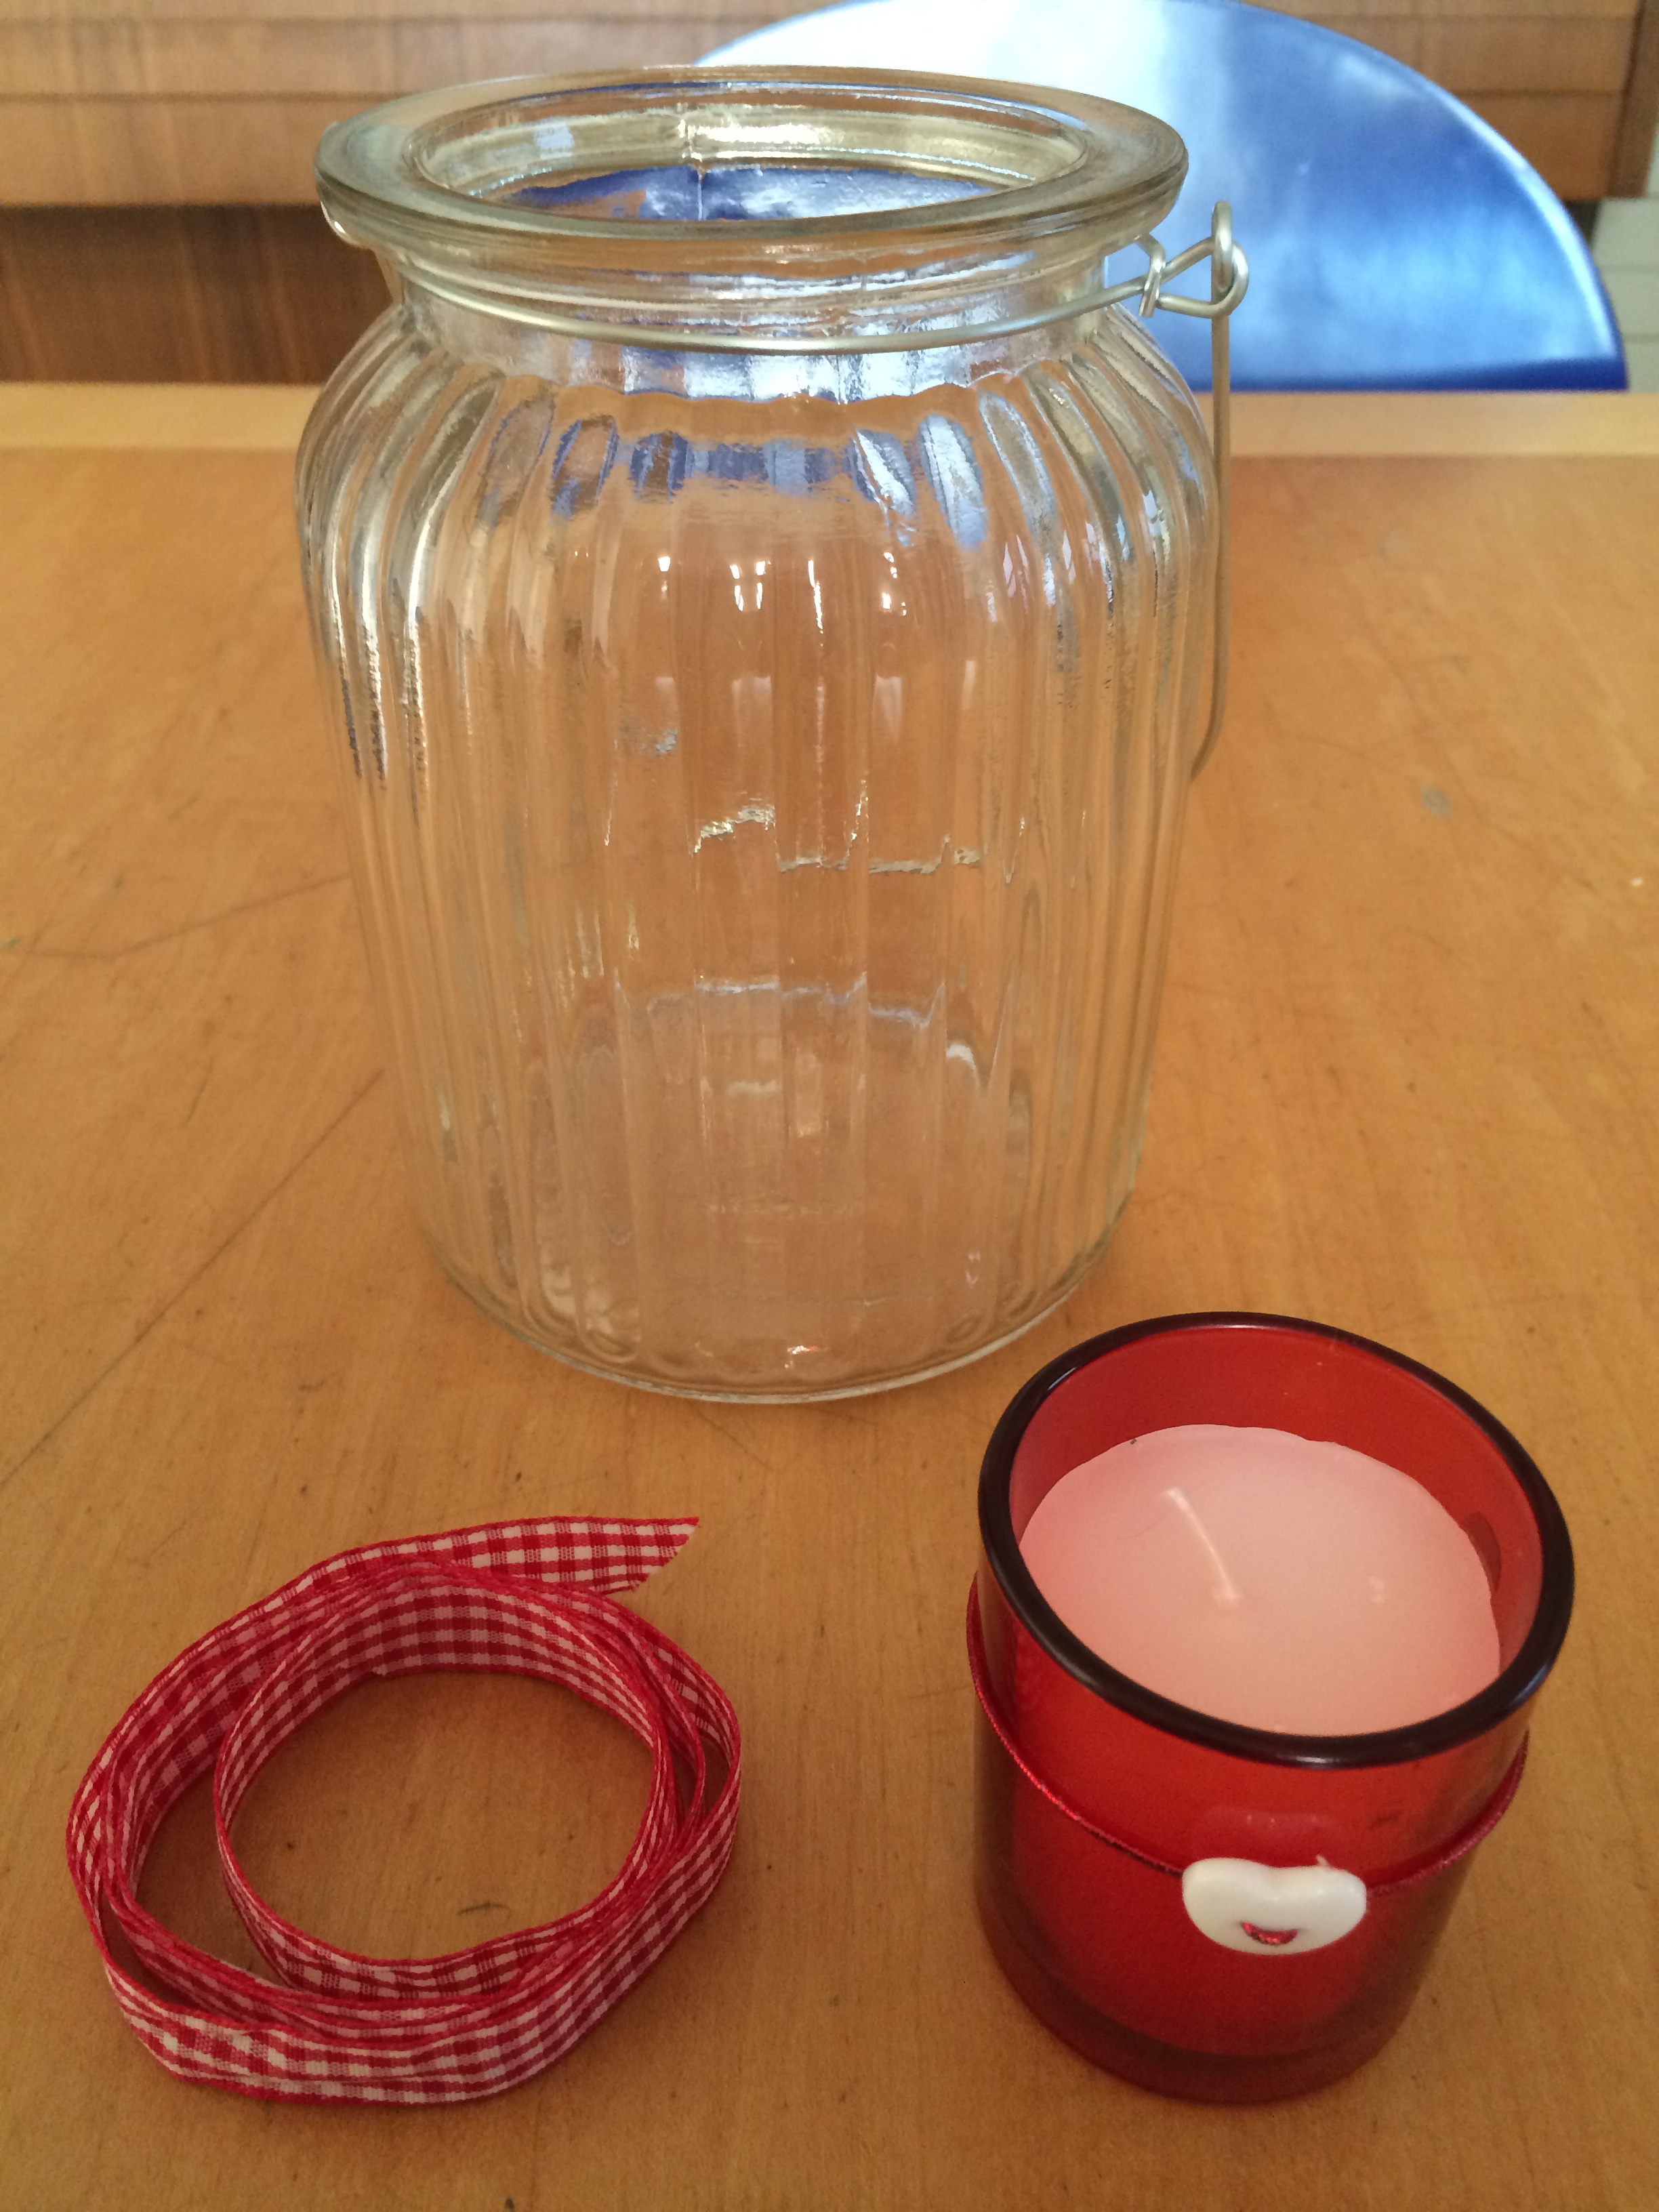
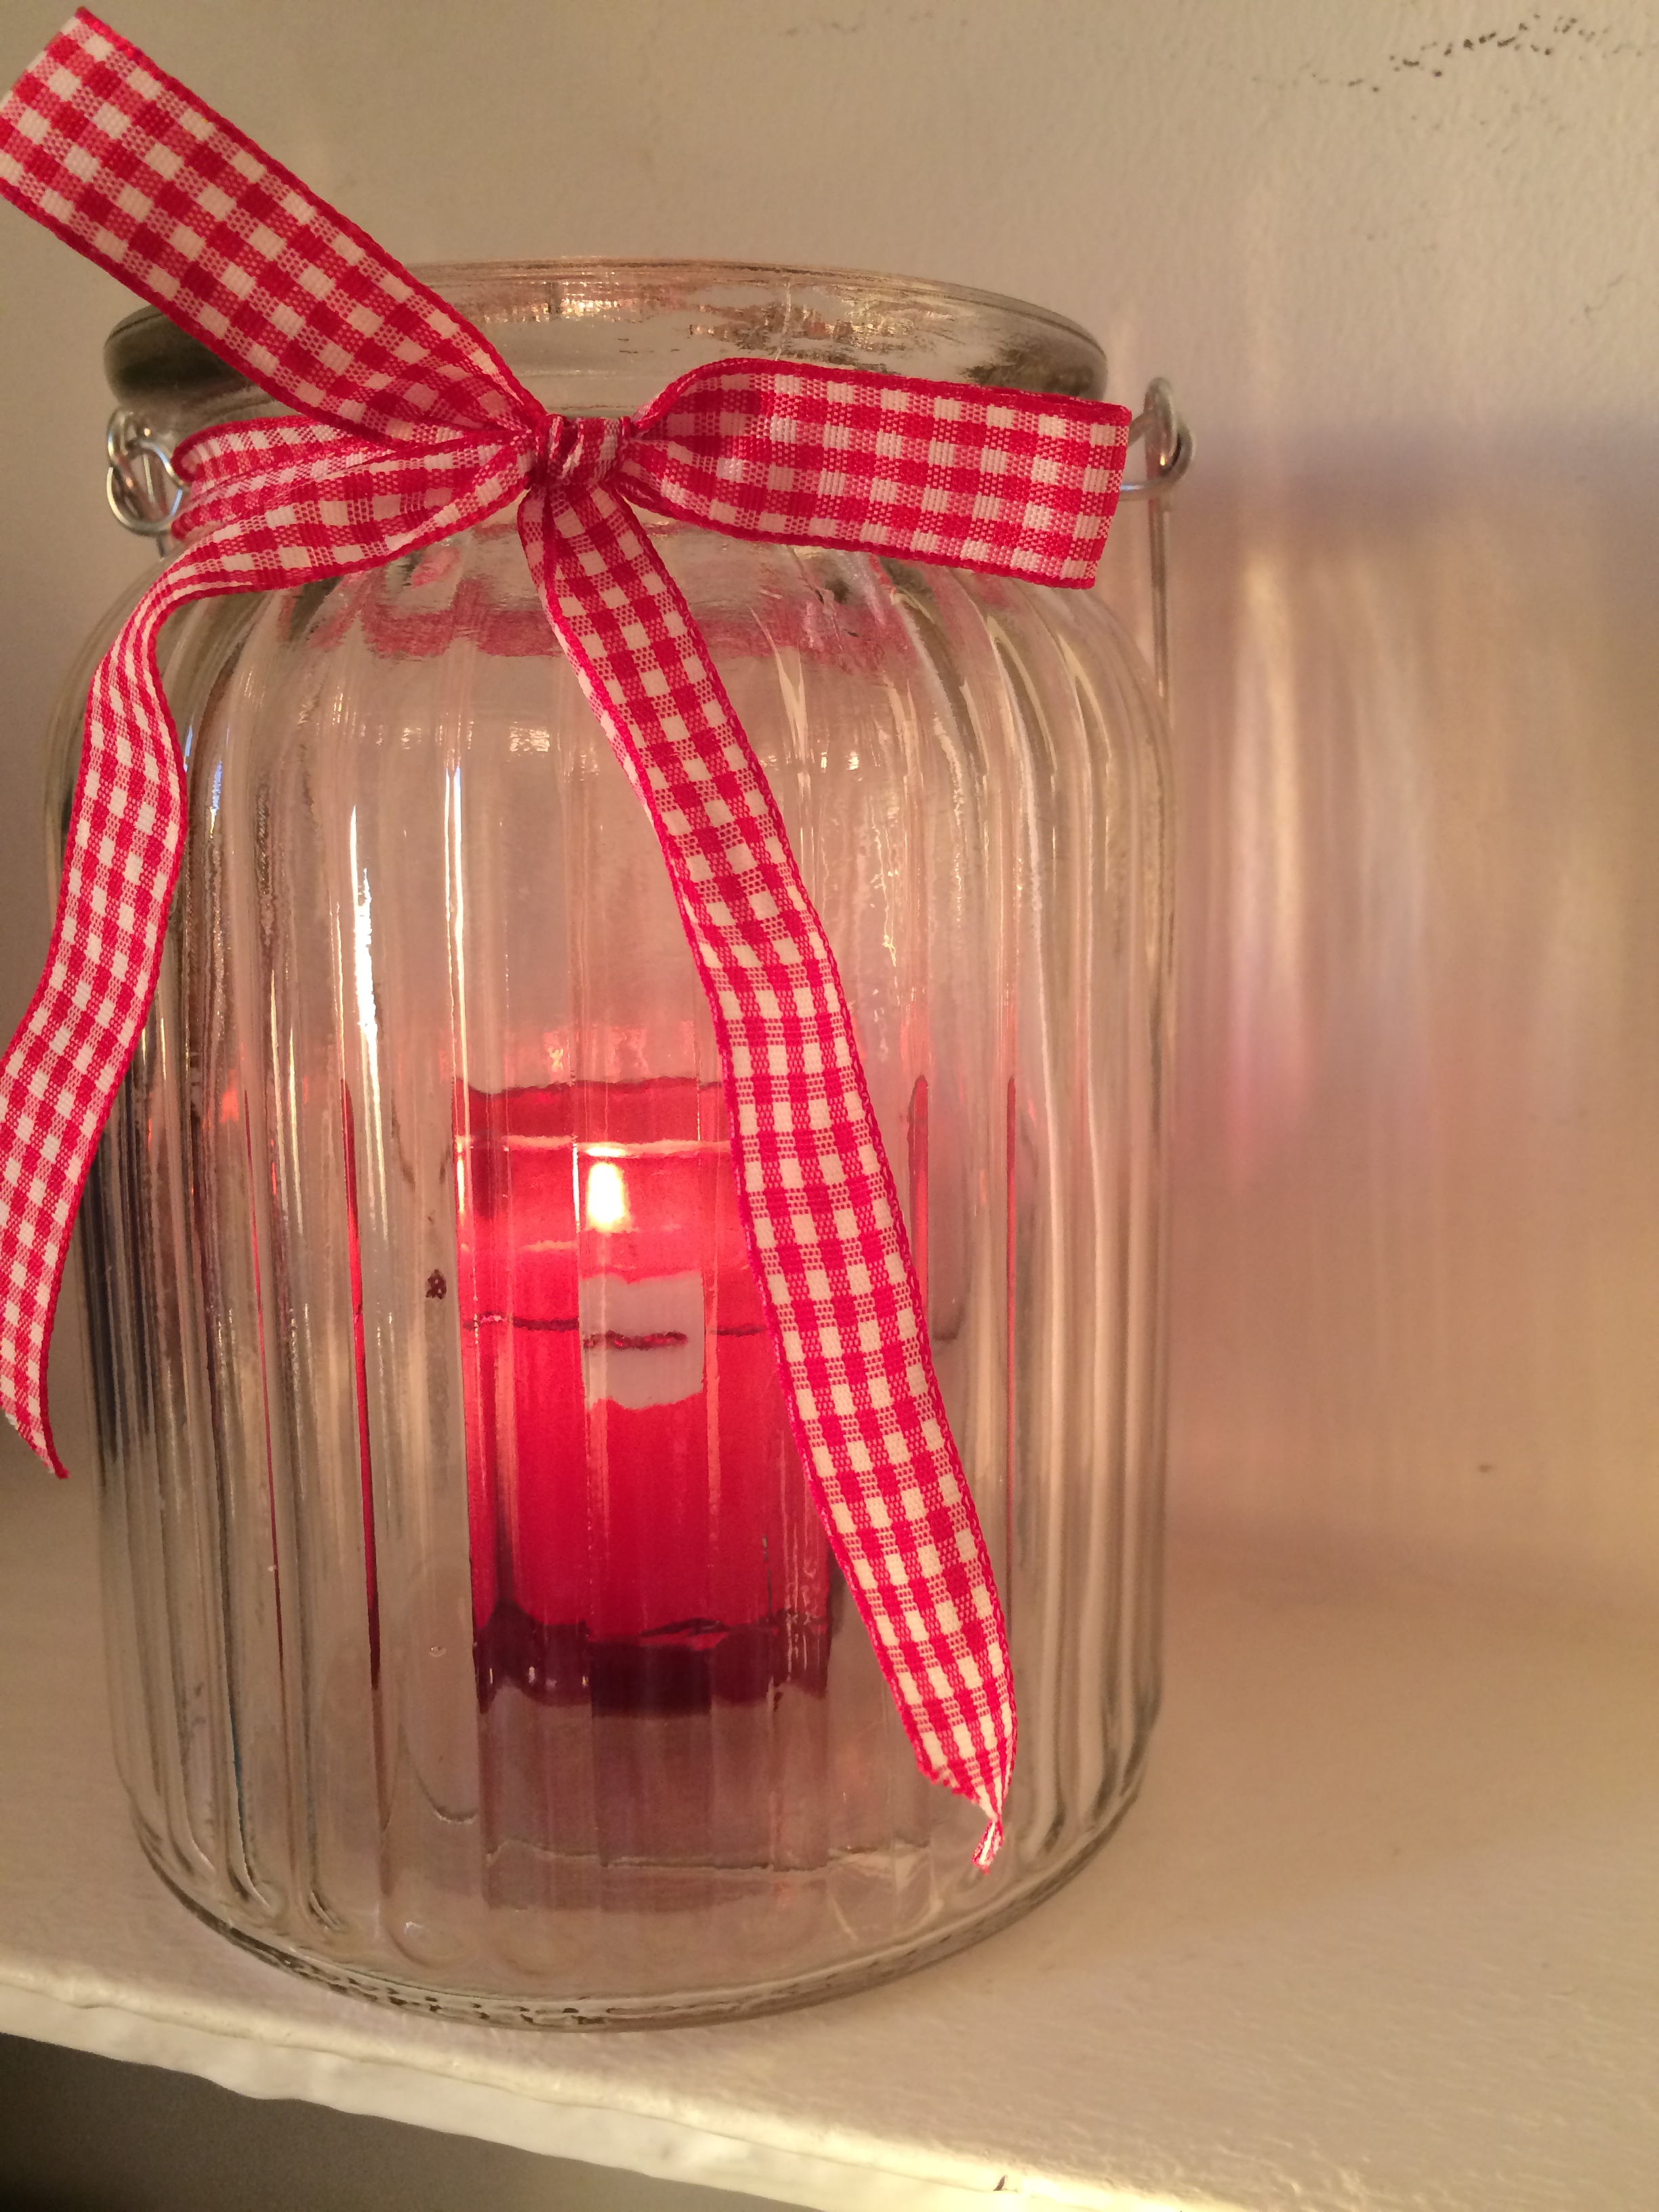
The first idea I have to show you is a very easy but super cute little festive decoration to jazz up your room, apartment or house. It was super easy to make as I just took a mason like jar, some red gingham ribbon and a candle in a red holder. All I did was wrap the ribbon around the neck of the jar and tie it in a little bow and then pop the candle inside and bob’s your uncle! You could also fill the jar with sweets, baubles or even nail varnishes for a different look.

IMG_1119

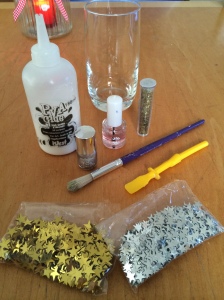
The next thing I want to show you all is a little more complex. I am using it right now as an eye-makeup brush holder and I love it. I took the following items to make this masterpiece; some PVA glue, a glass, sticky tape, glitter, star shaped confetti, an old paintbrush and some pretty nail varnish. As this is a little more complex I shall do step-by-step instructions…

IMG_1120   IMG_1121

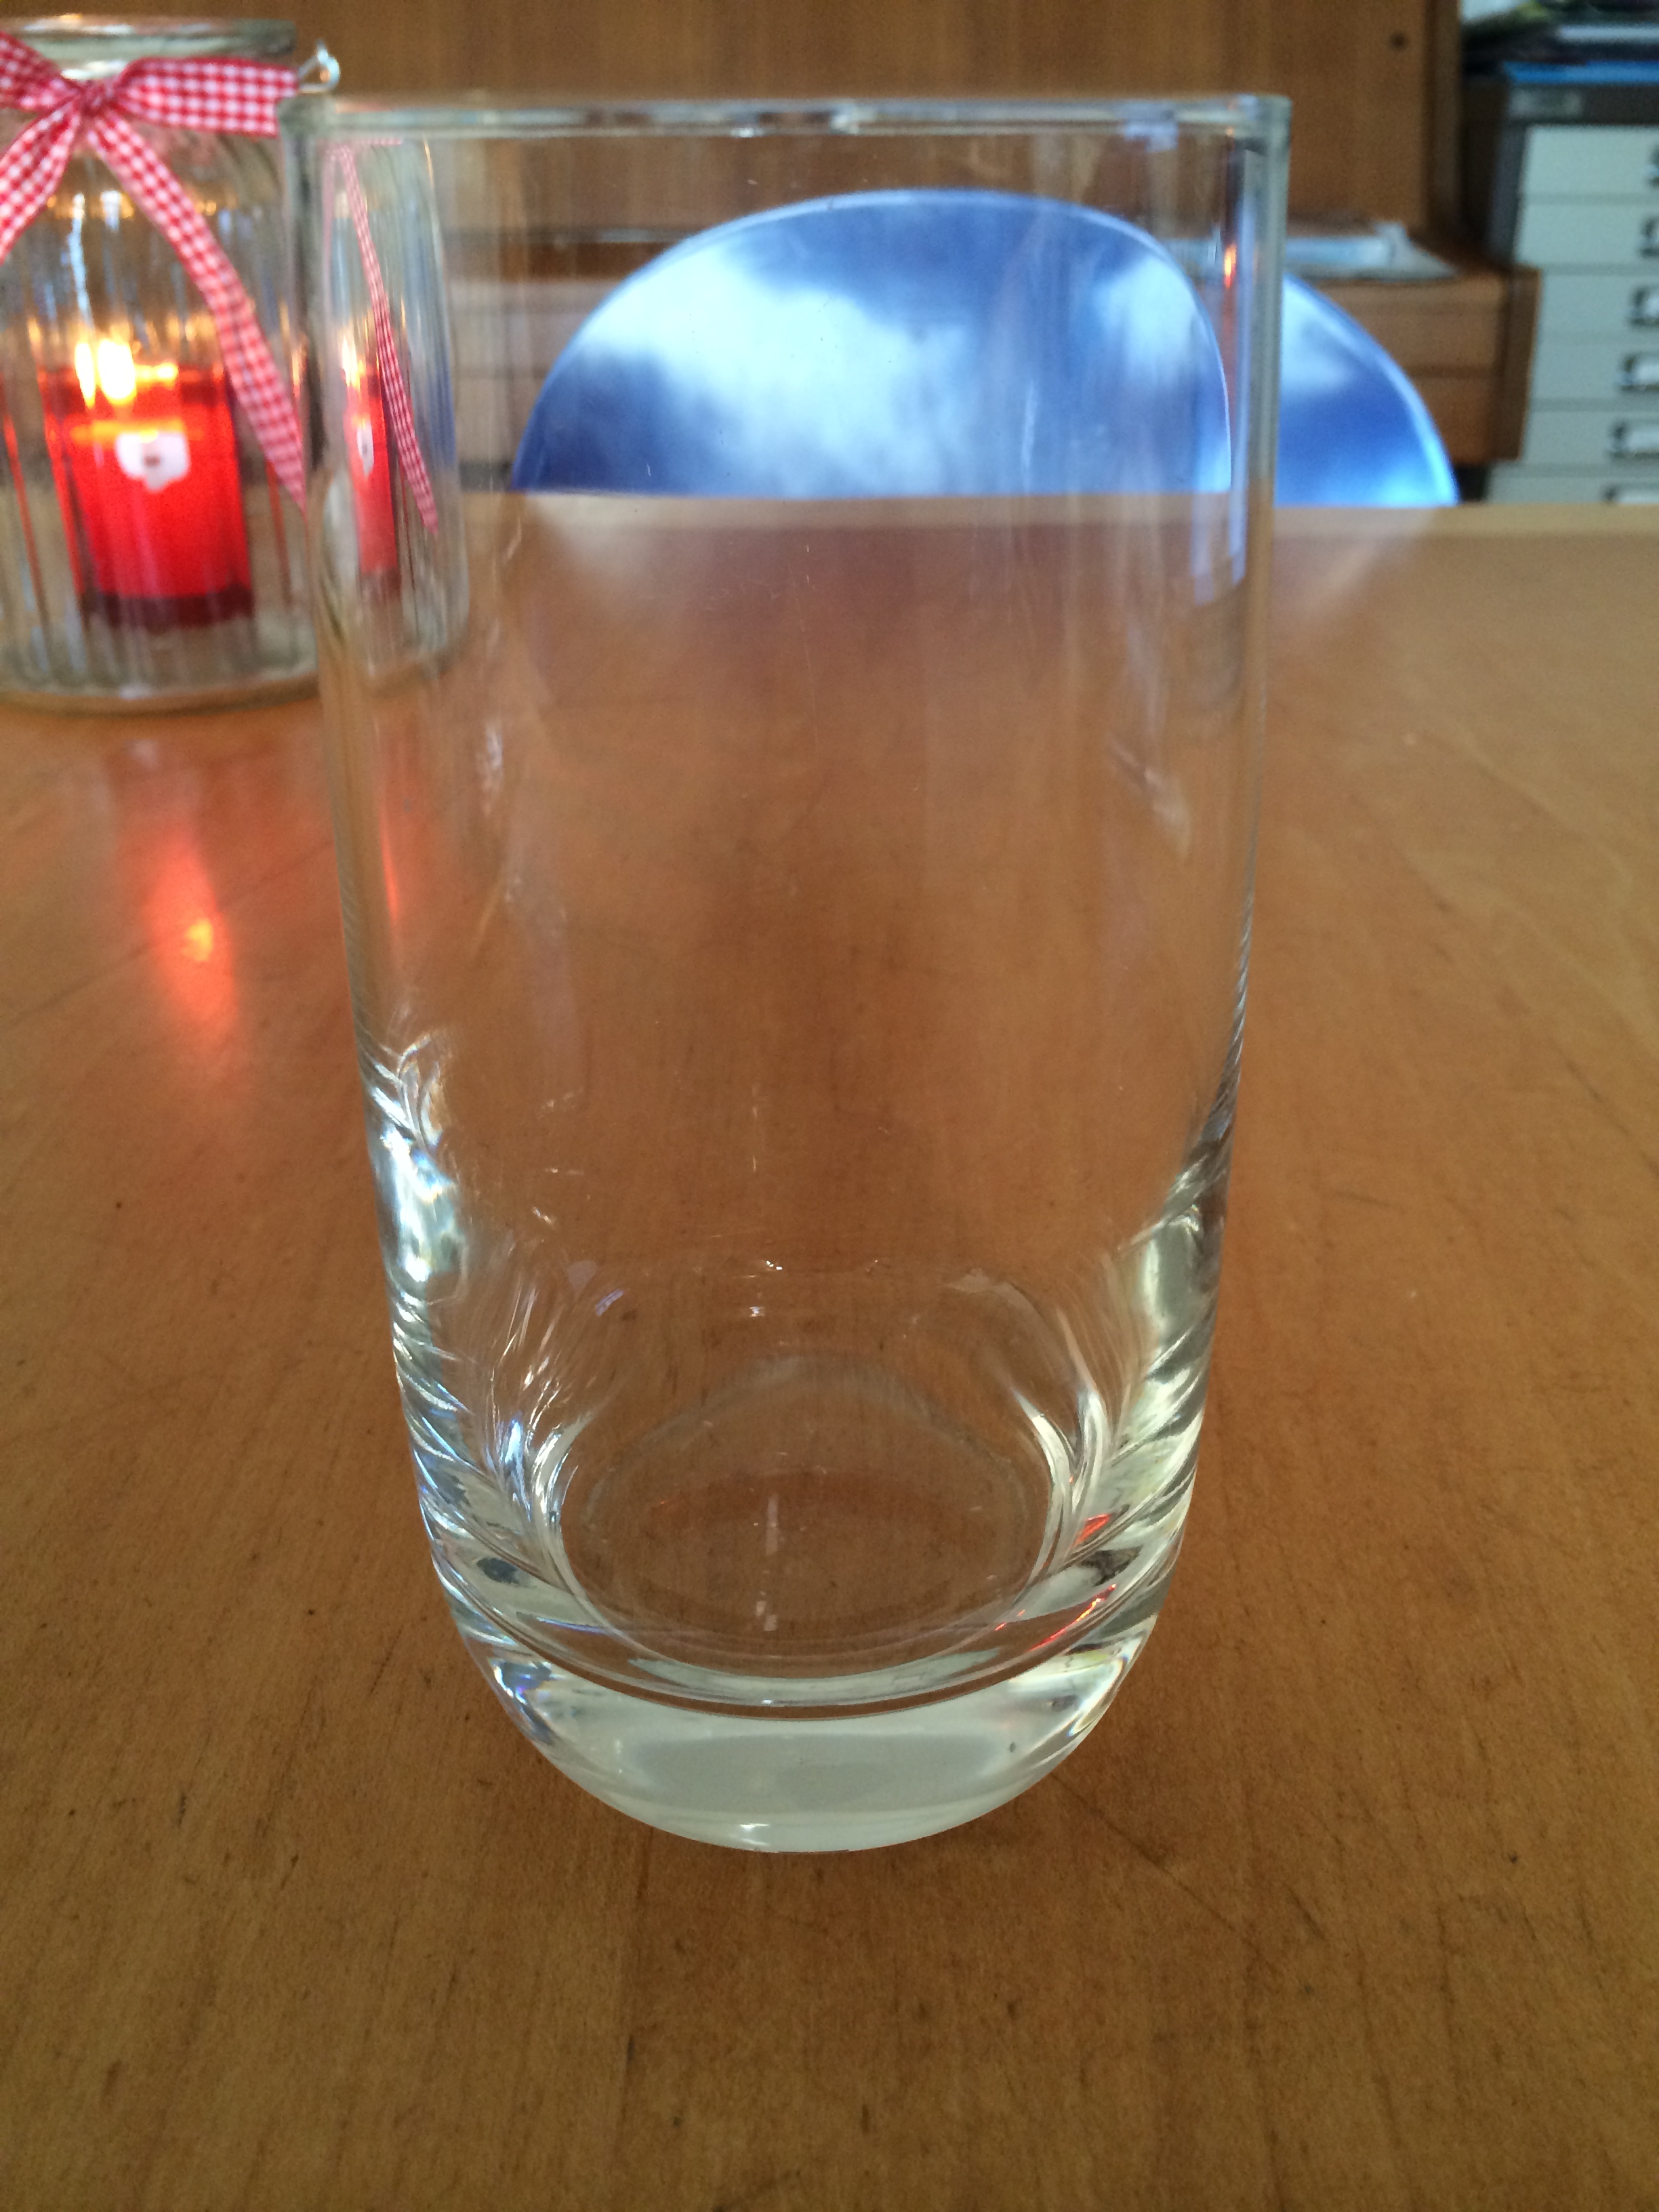
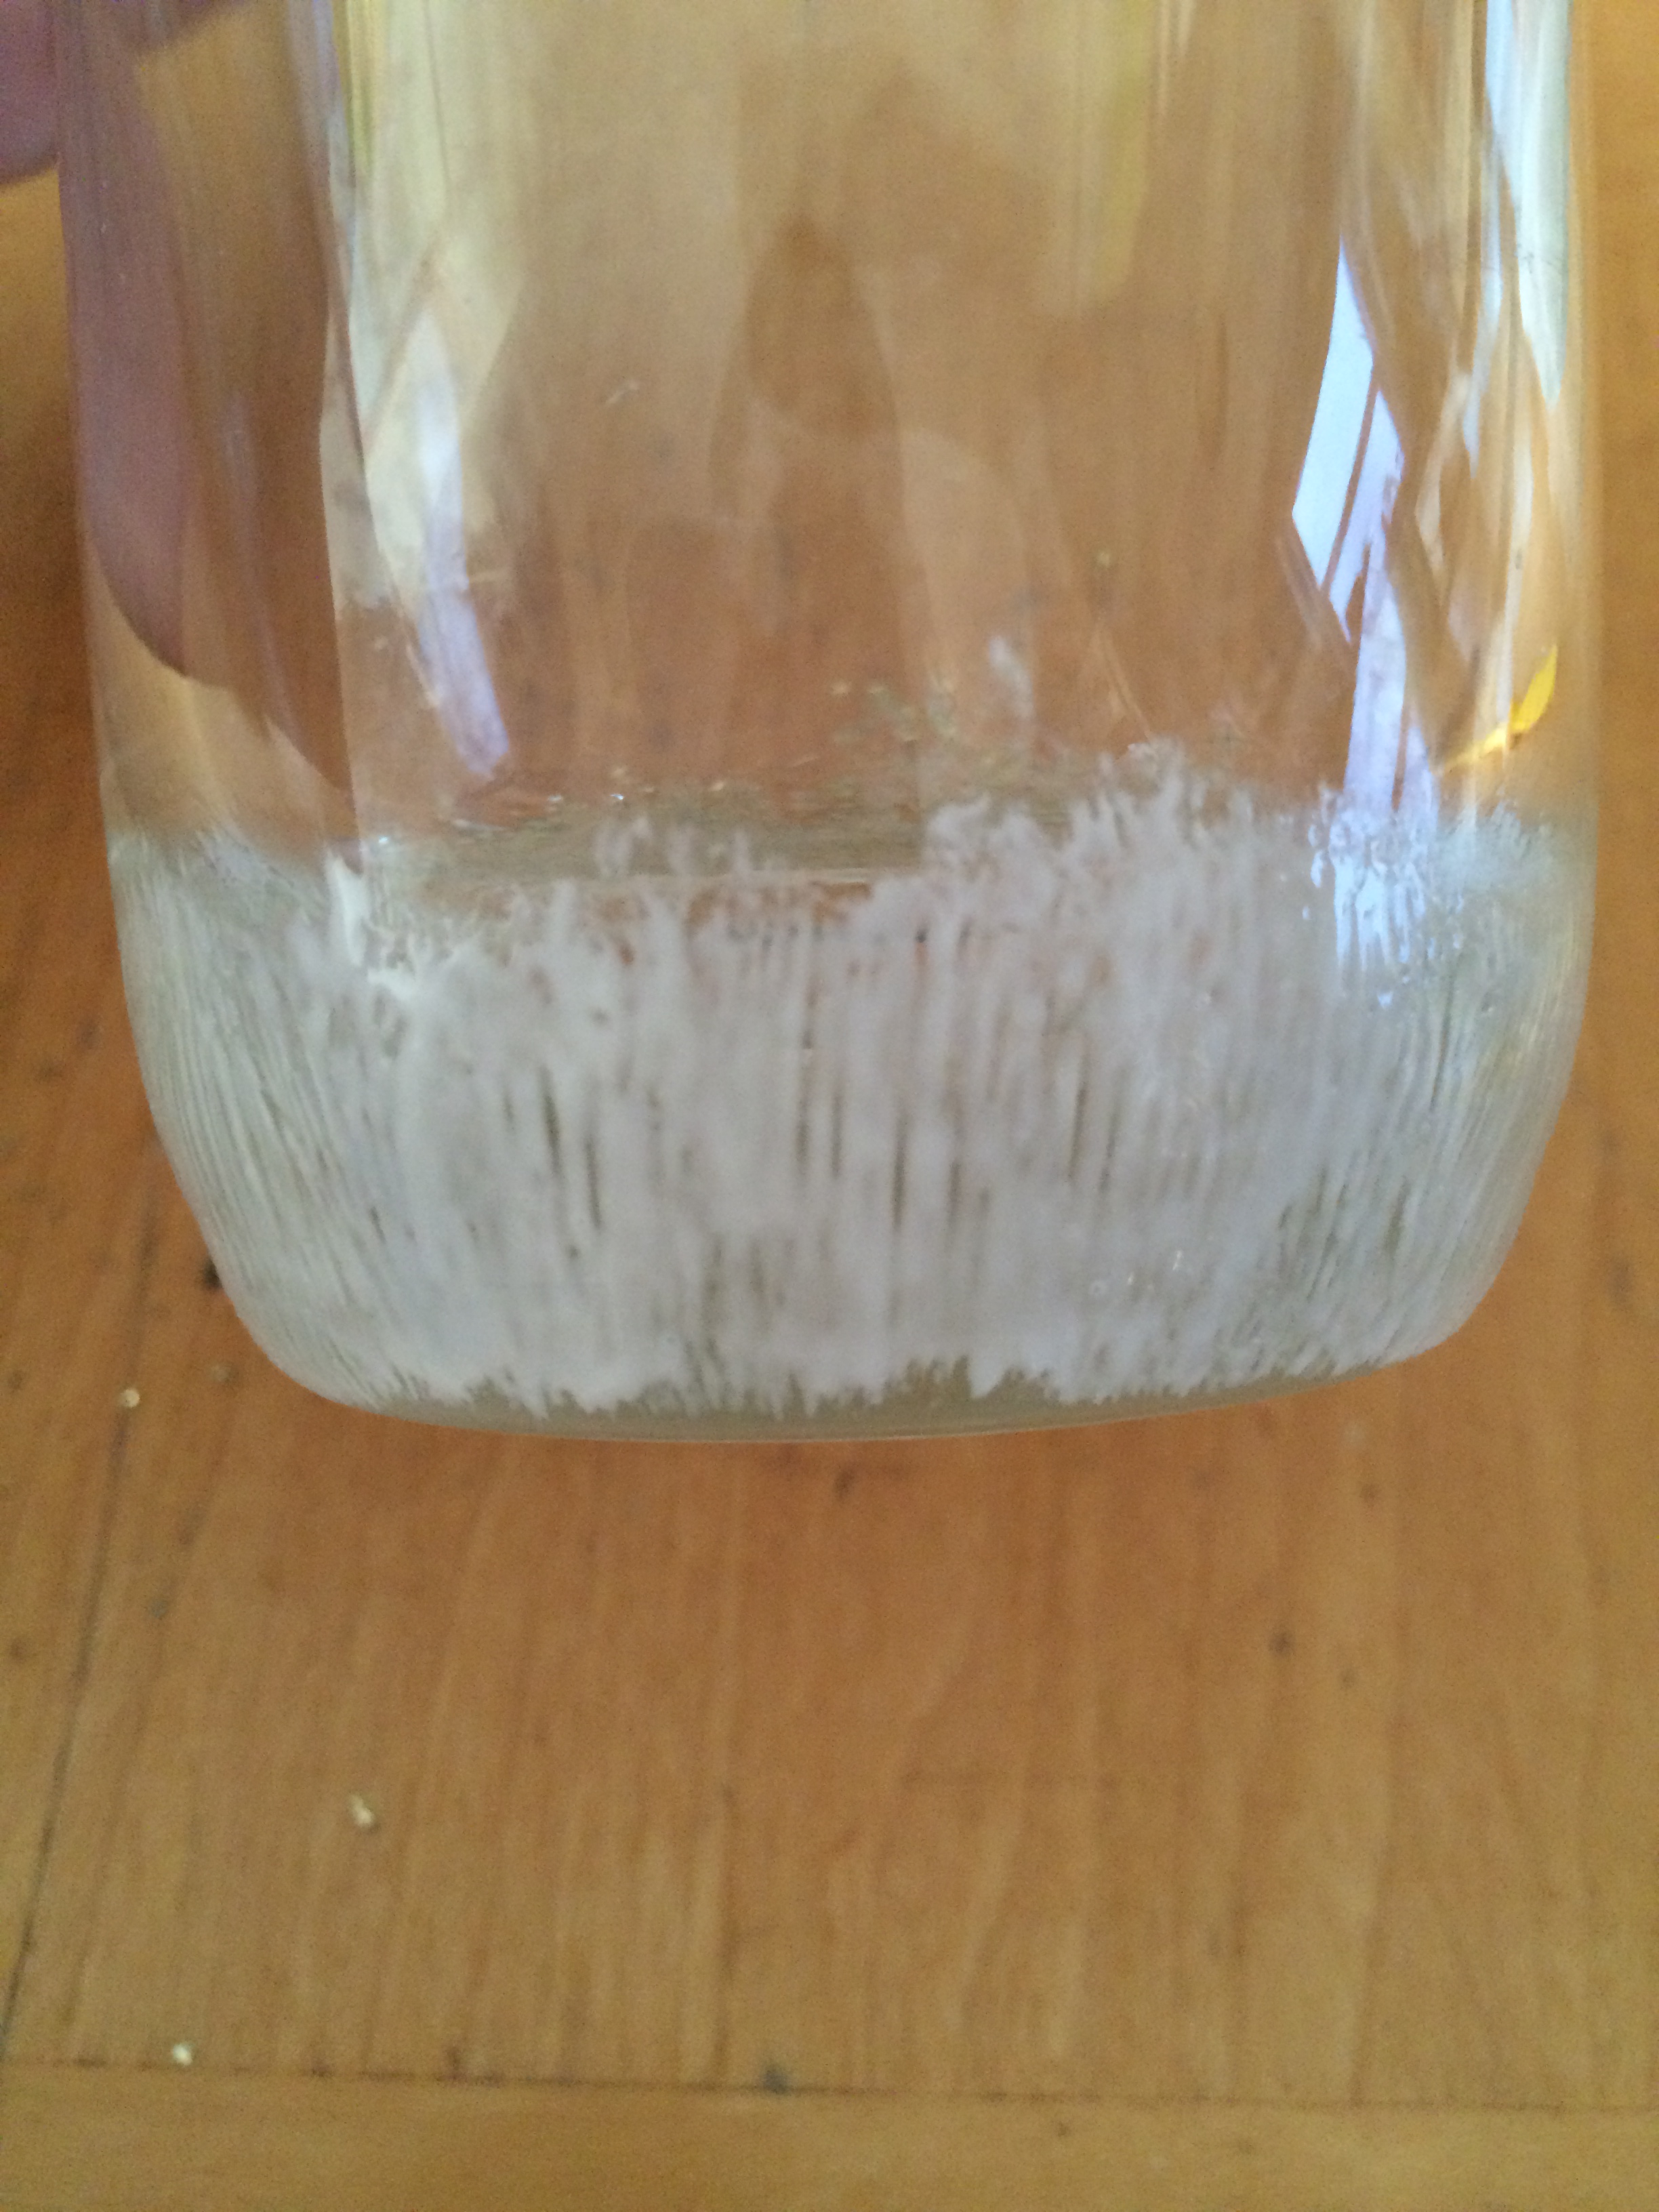
Step 1: Take your glass and use an old paintbrush to pop on a thin layer of PVA glue on the bottom 1/5 of it.

IMG_1122

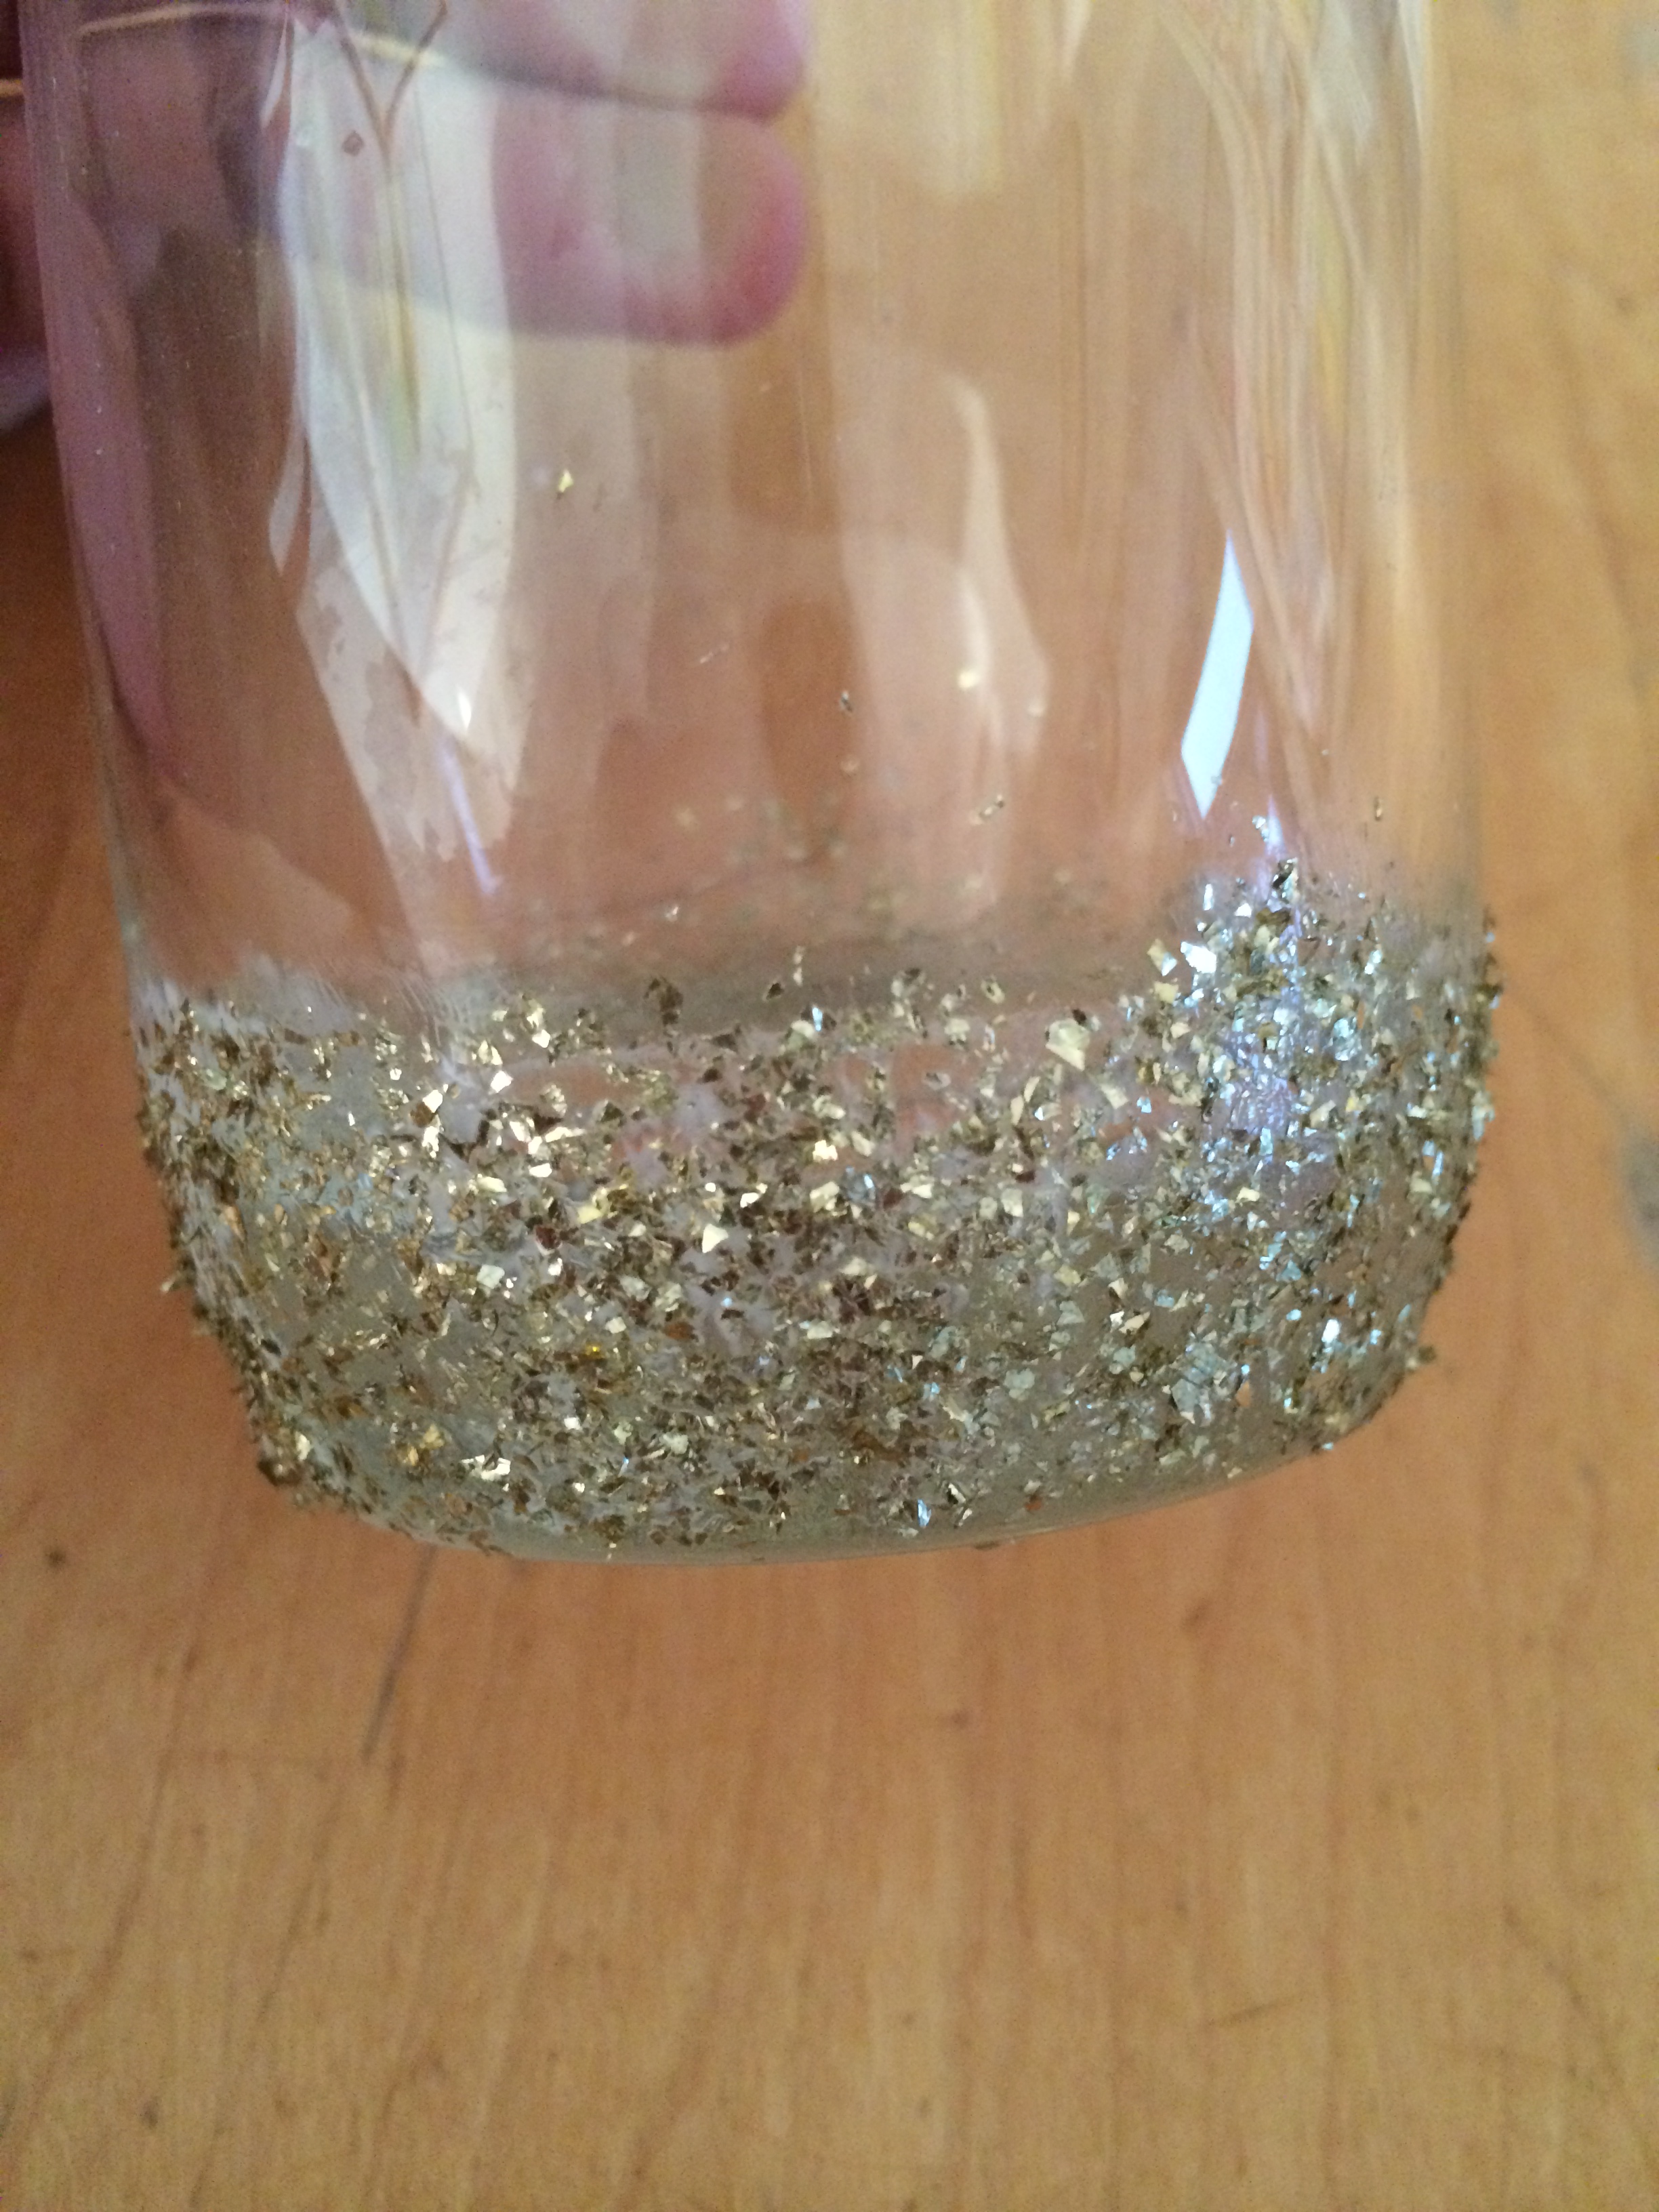
Step 2: Pat on some glitter onto the wet glue.

IMG_1124

Step 3: Continue Steps 1&2 upwards until you have your desired effect, I took the glitter up to between 1/4 and 1/2 of the way up the glass.

IMG_1128

Step 4: Create a ring of sticky tape around the top of the glass to make a neat line along the top.

Step 5: Paint on some festive coloured nail polish on the rim of the glass.

Step 6: Wait for the polish to dry and then remove the sticky tape.

Step 7: Pour in your chosen style of filler, I went for festive gold and silver stars. These are optional, but I think if you want to use it as a brush holder they work really well.

IMG_1135 IMG_1134

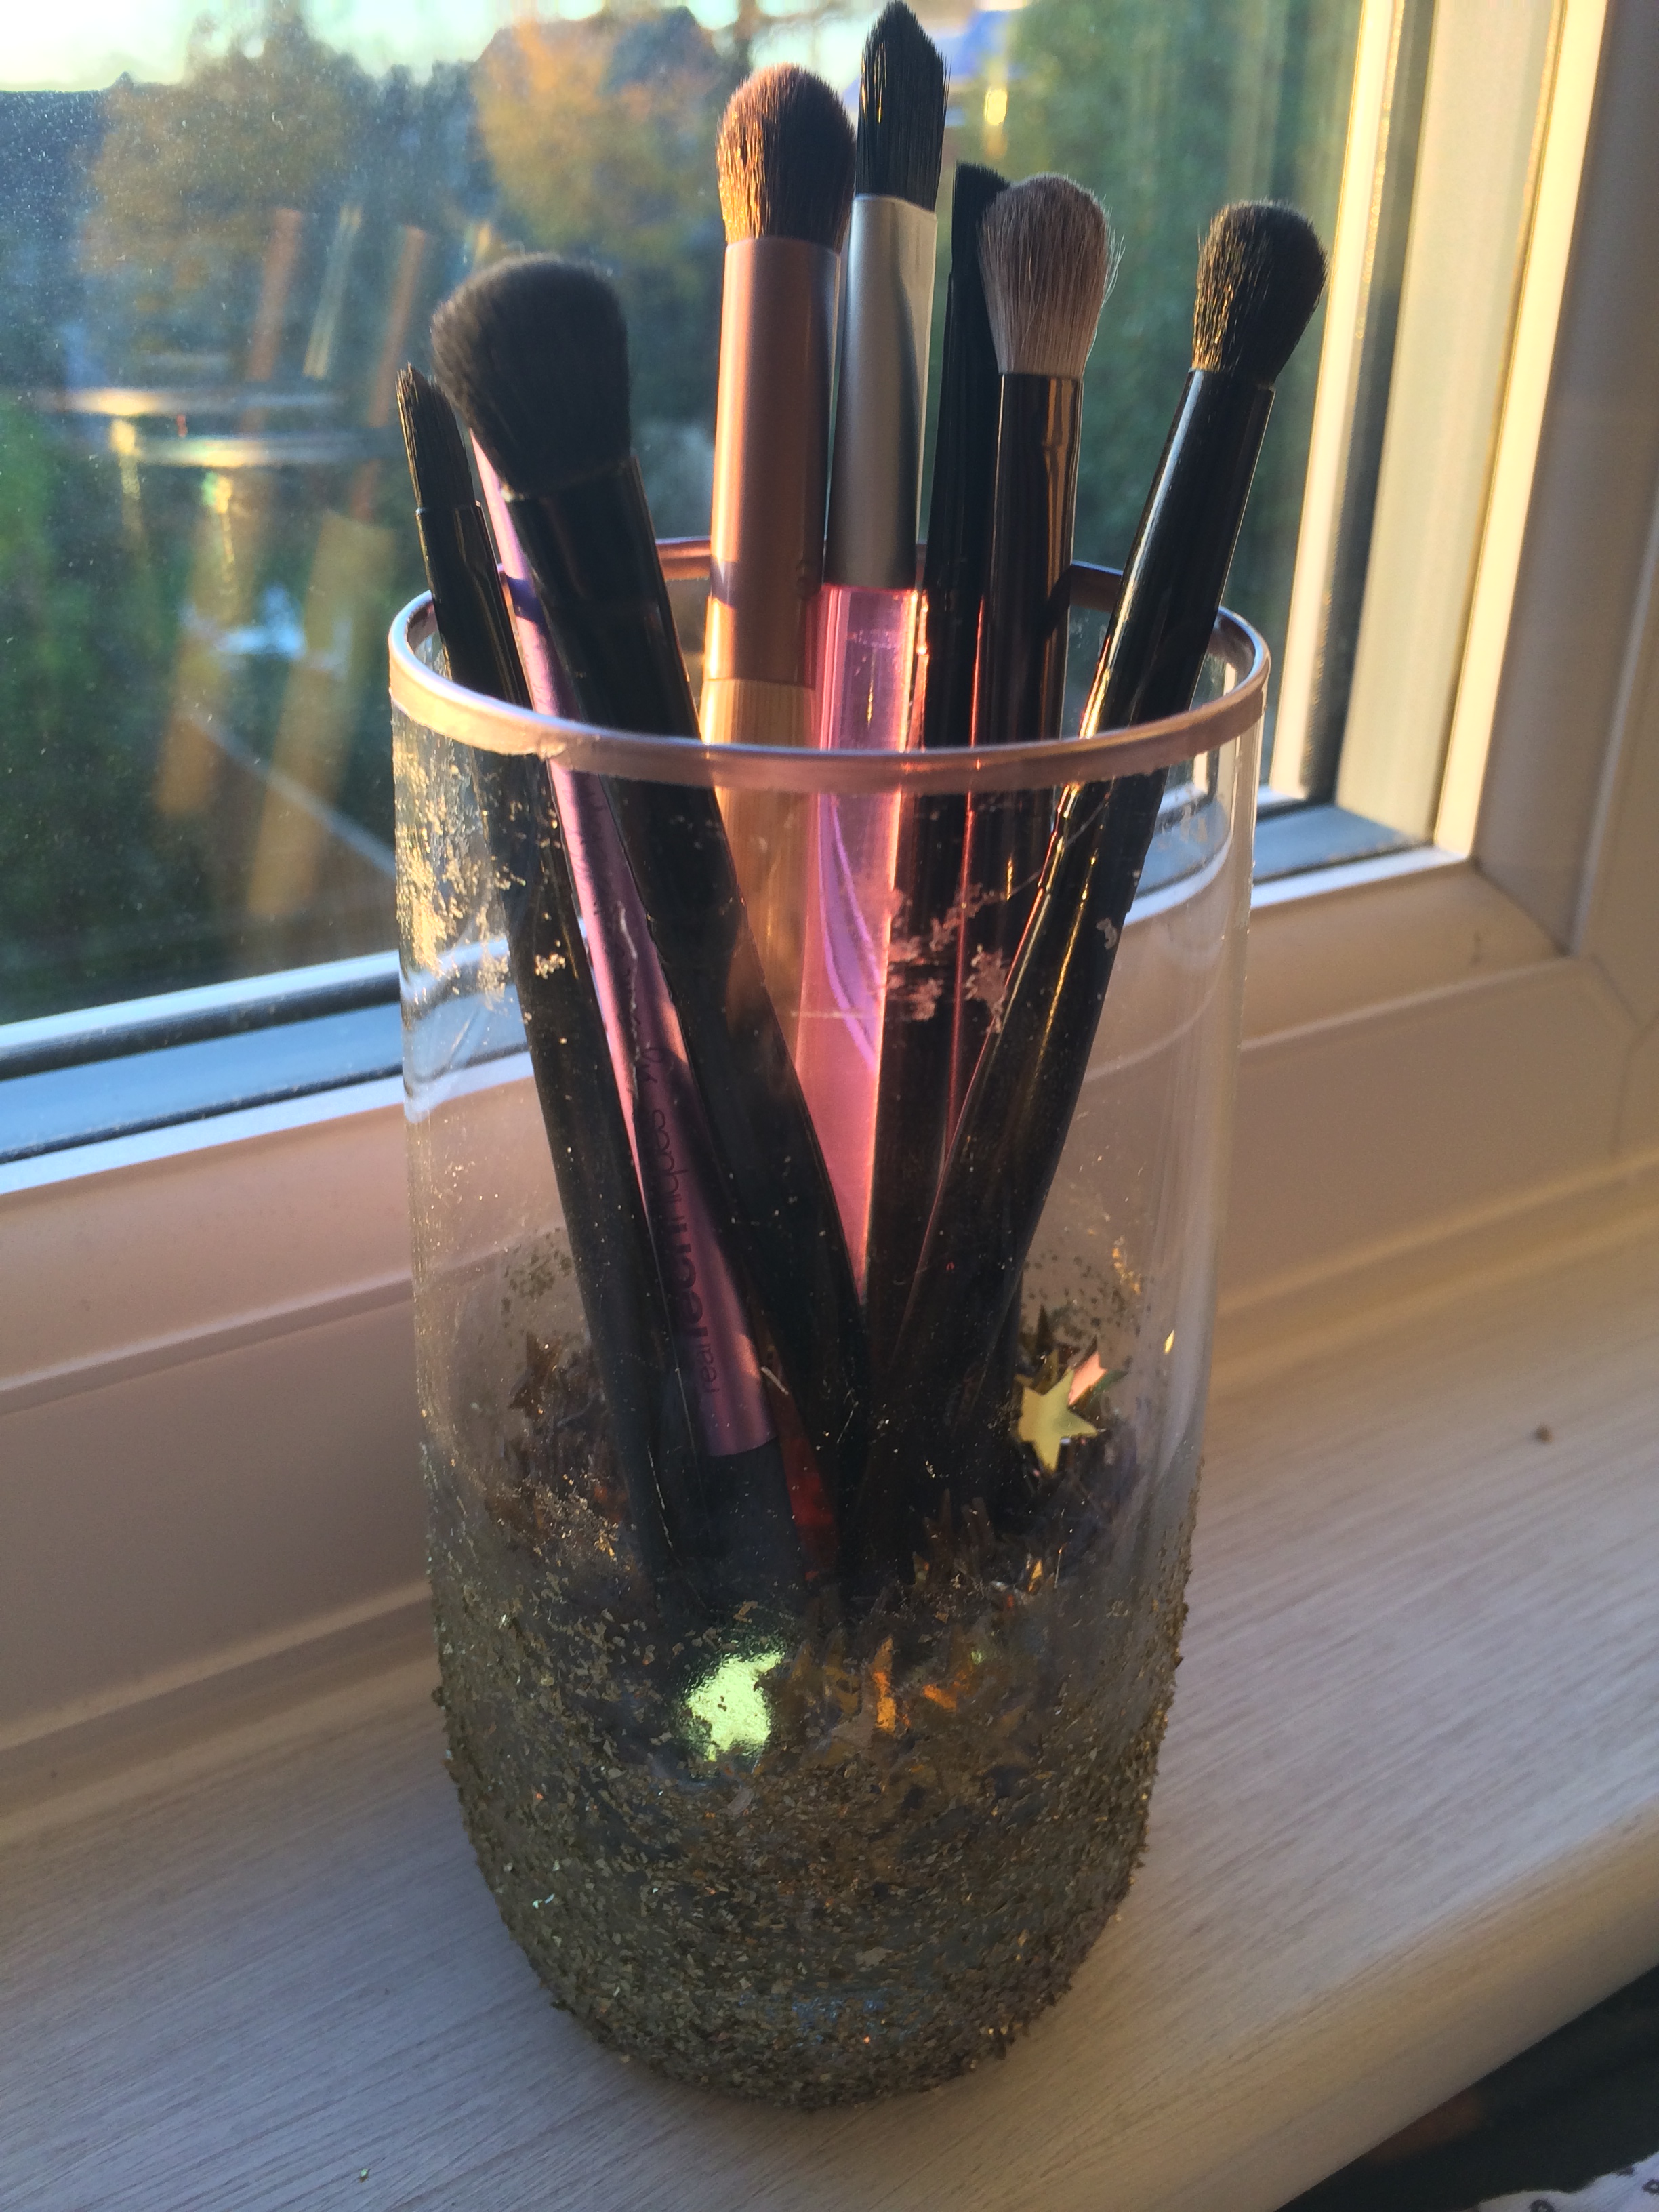
Step 8: Pop in your brushes or pens or whatever else you want to keep in it and you’re done!


The next two ideas are not DIYs as such, but they just spruce up a room or house and they are super easy to get your hands on.

IMG_1142

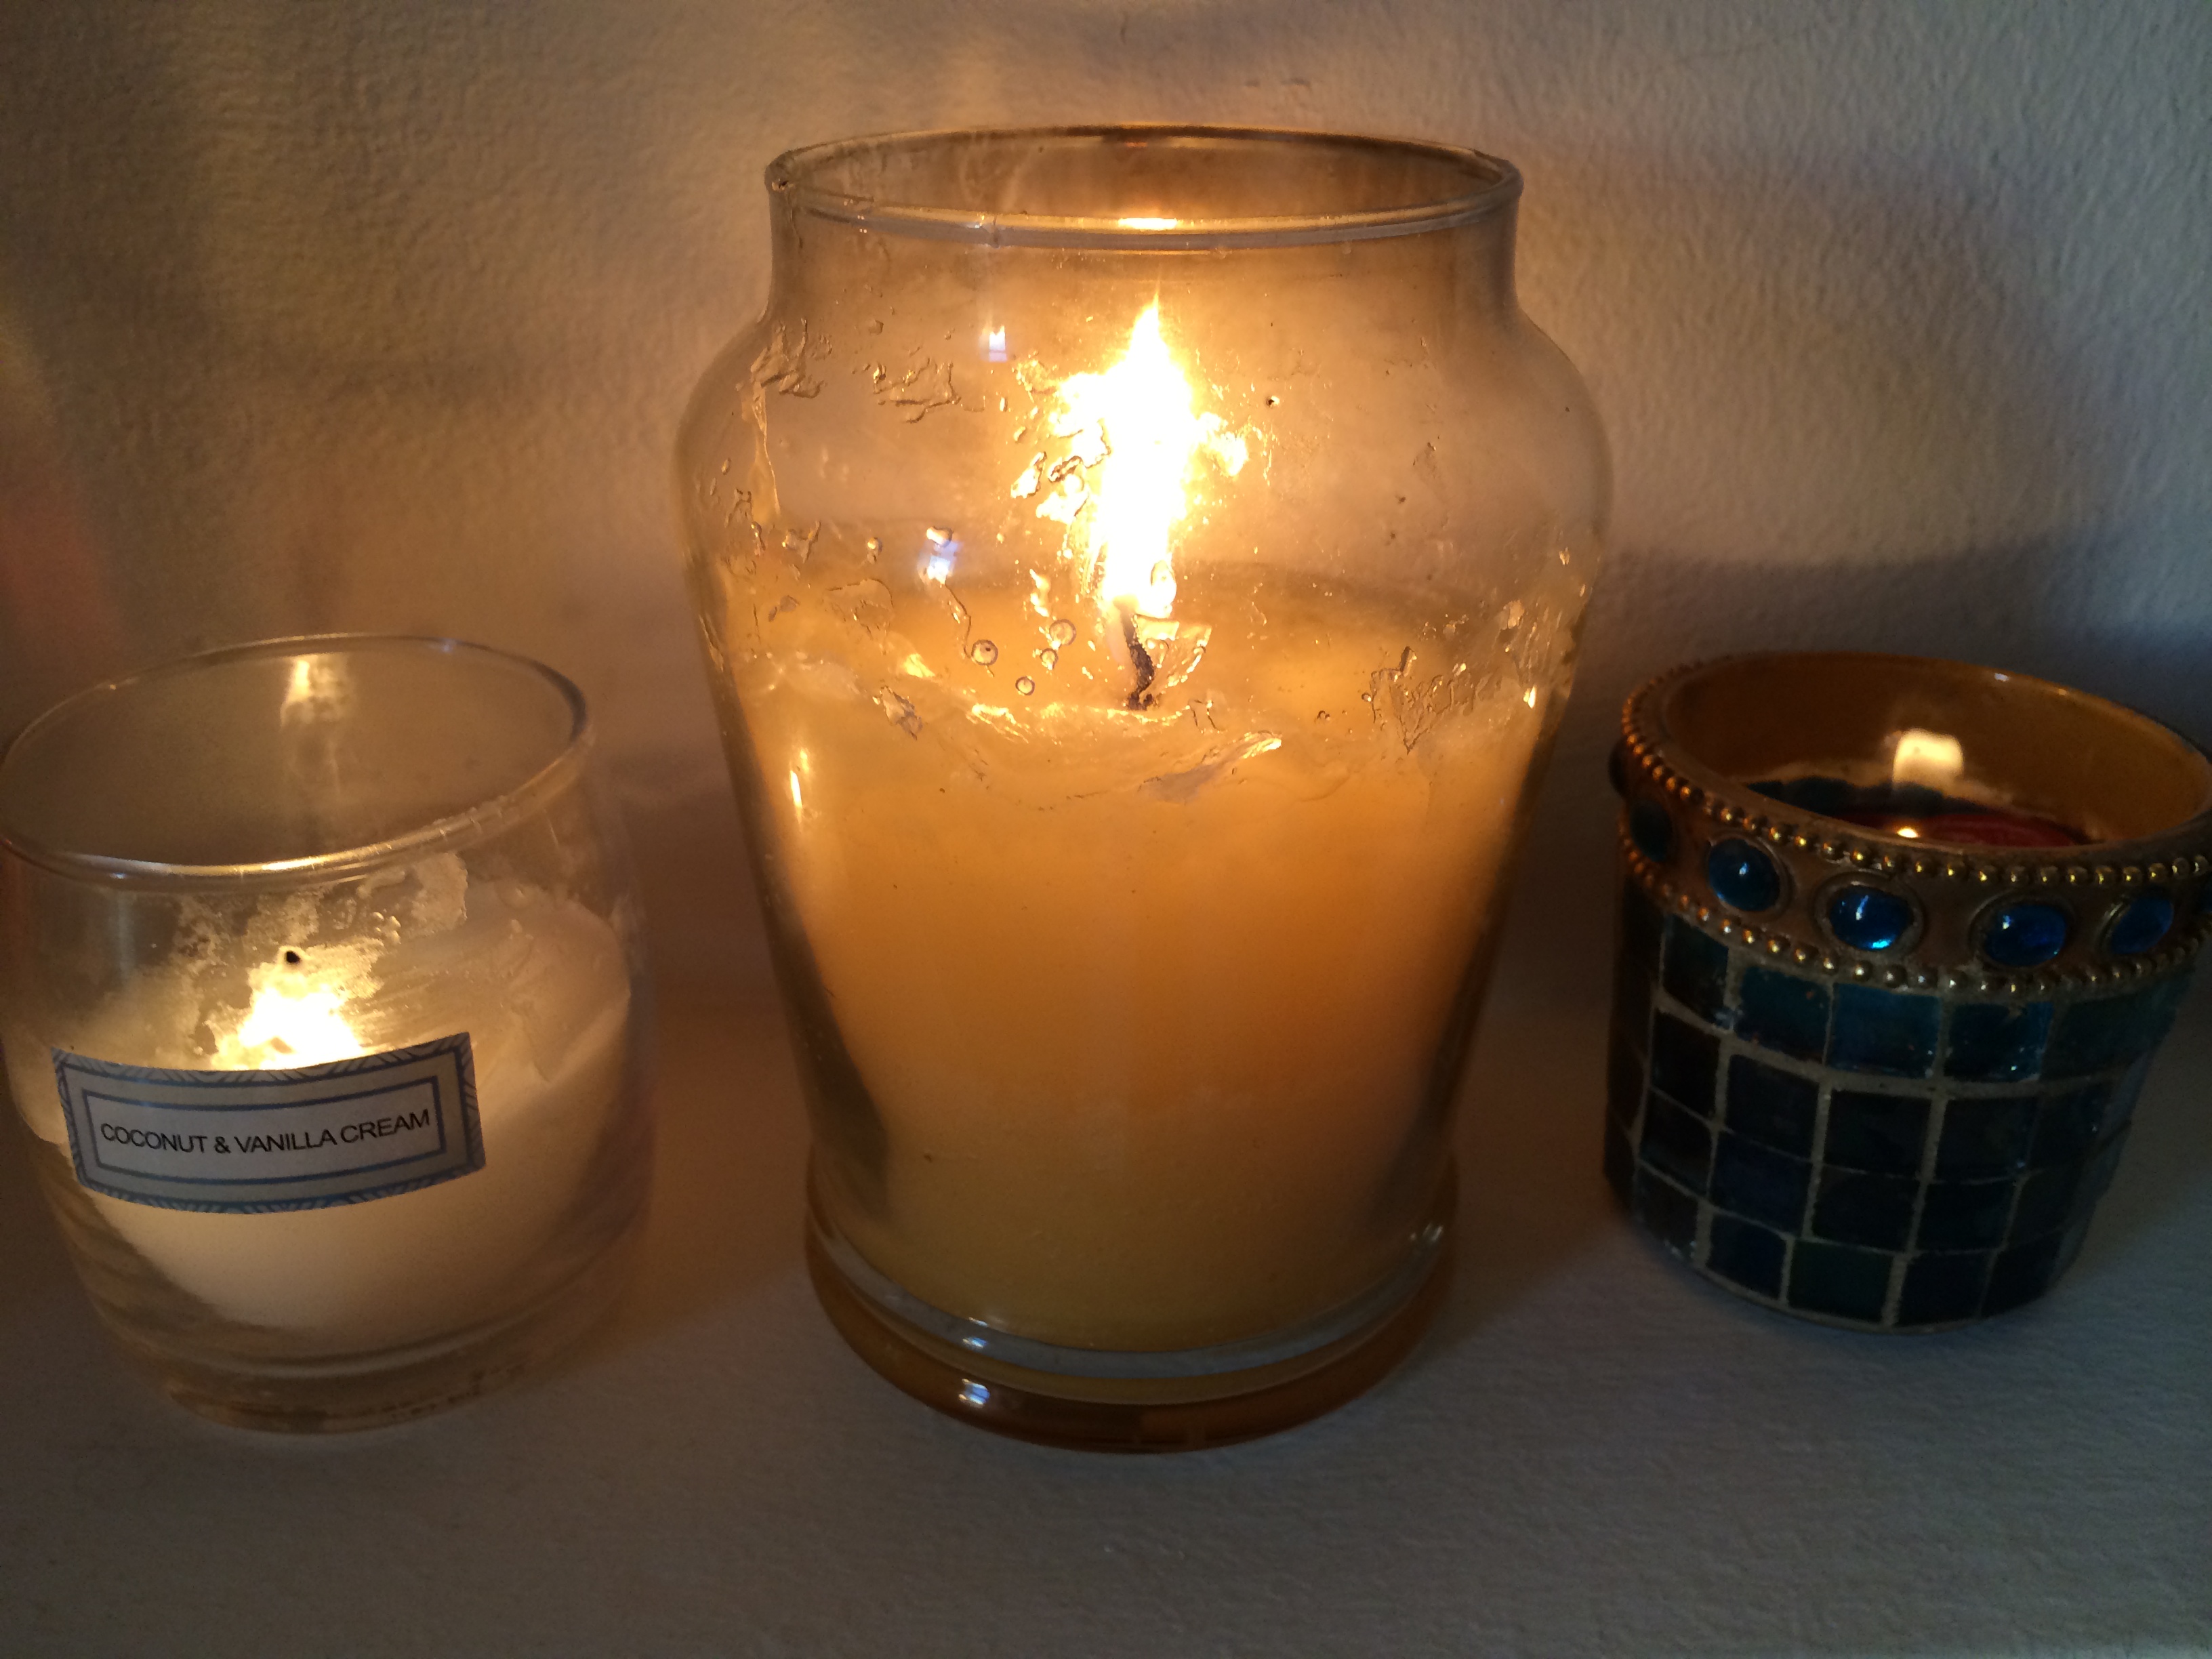
The first one is candles. I love a good candle, and at the moment I am loving the Yankee Candle in Apple Spice Potpourri. It smells like appley heaven and is so wintery! Candles look great on a mantelpiece, vanity or a windowsill and just make a rom look so festive and cosy.

IMG_1553   IMG_1554

IMG_1140   IMG_1138

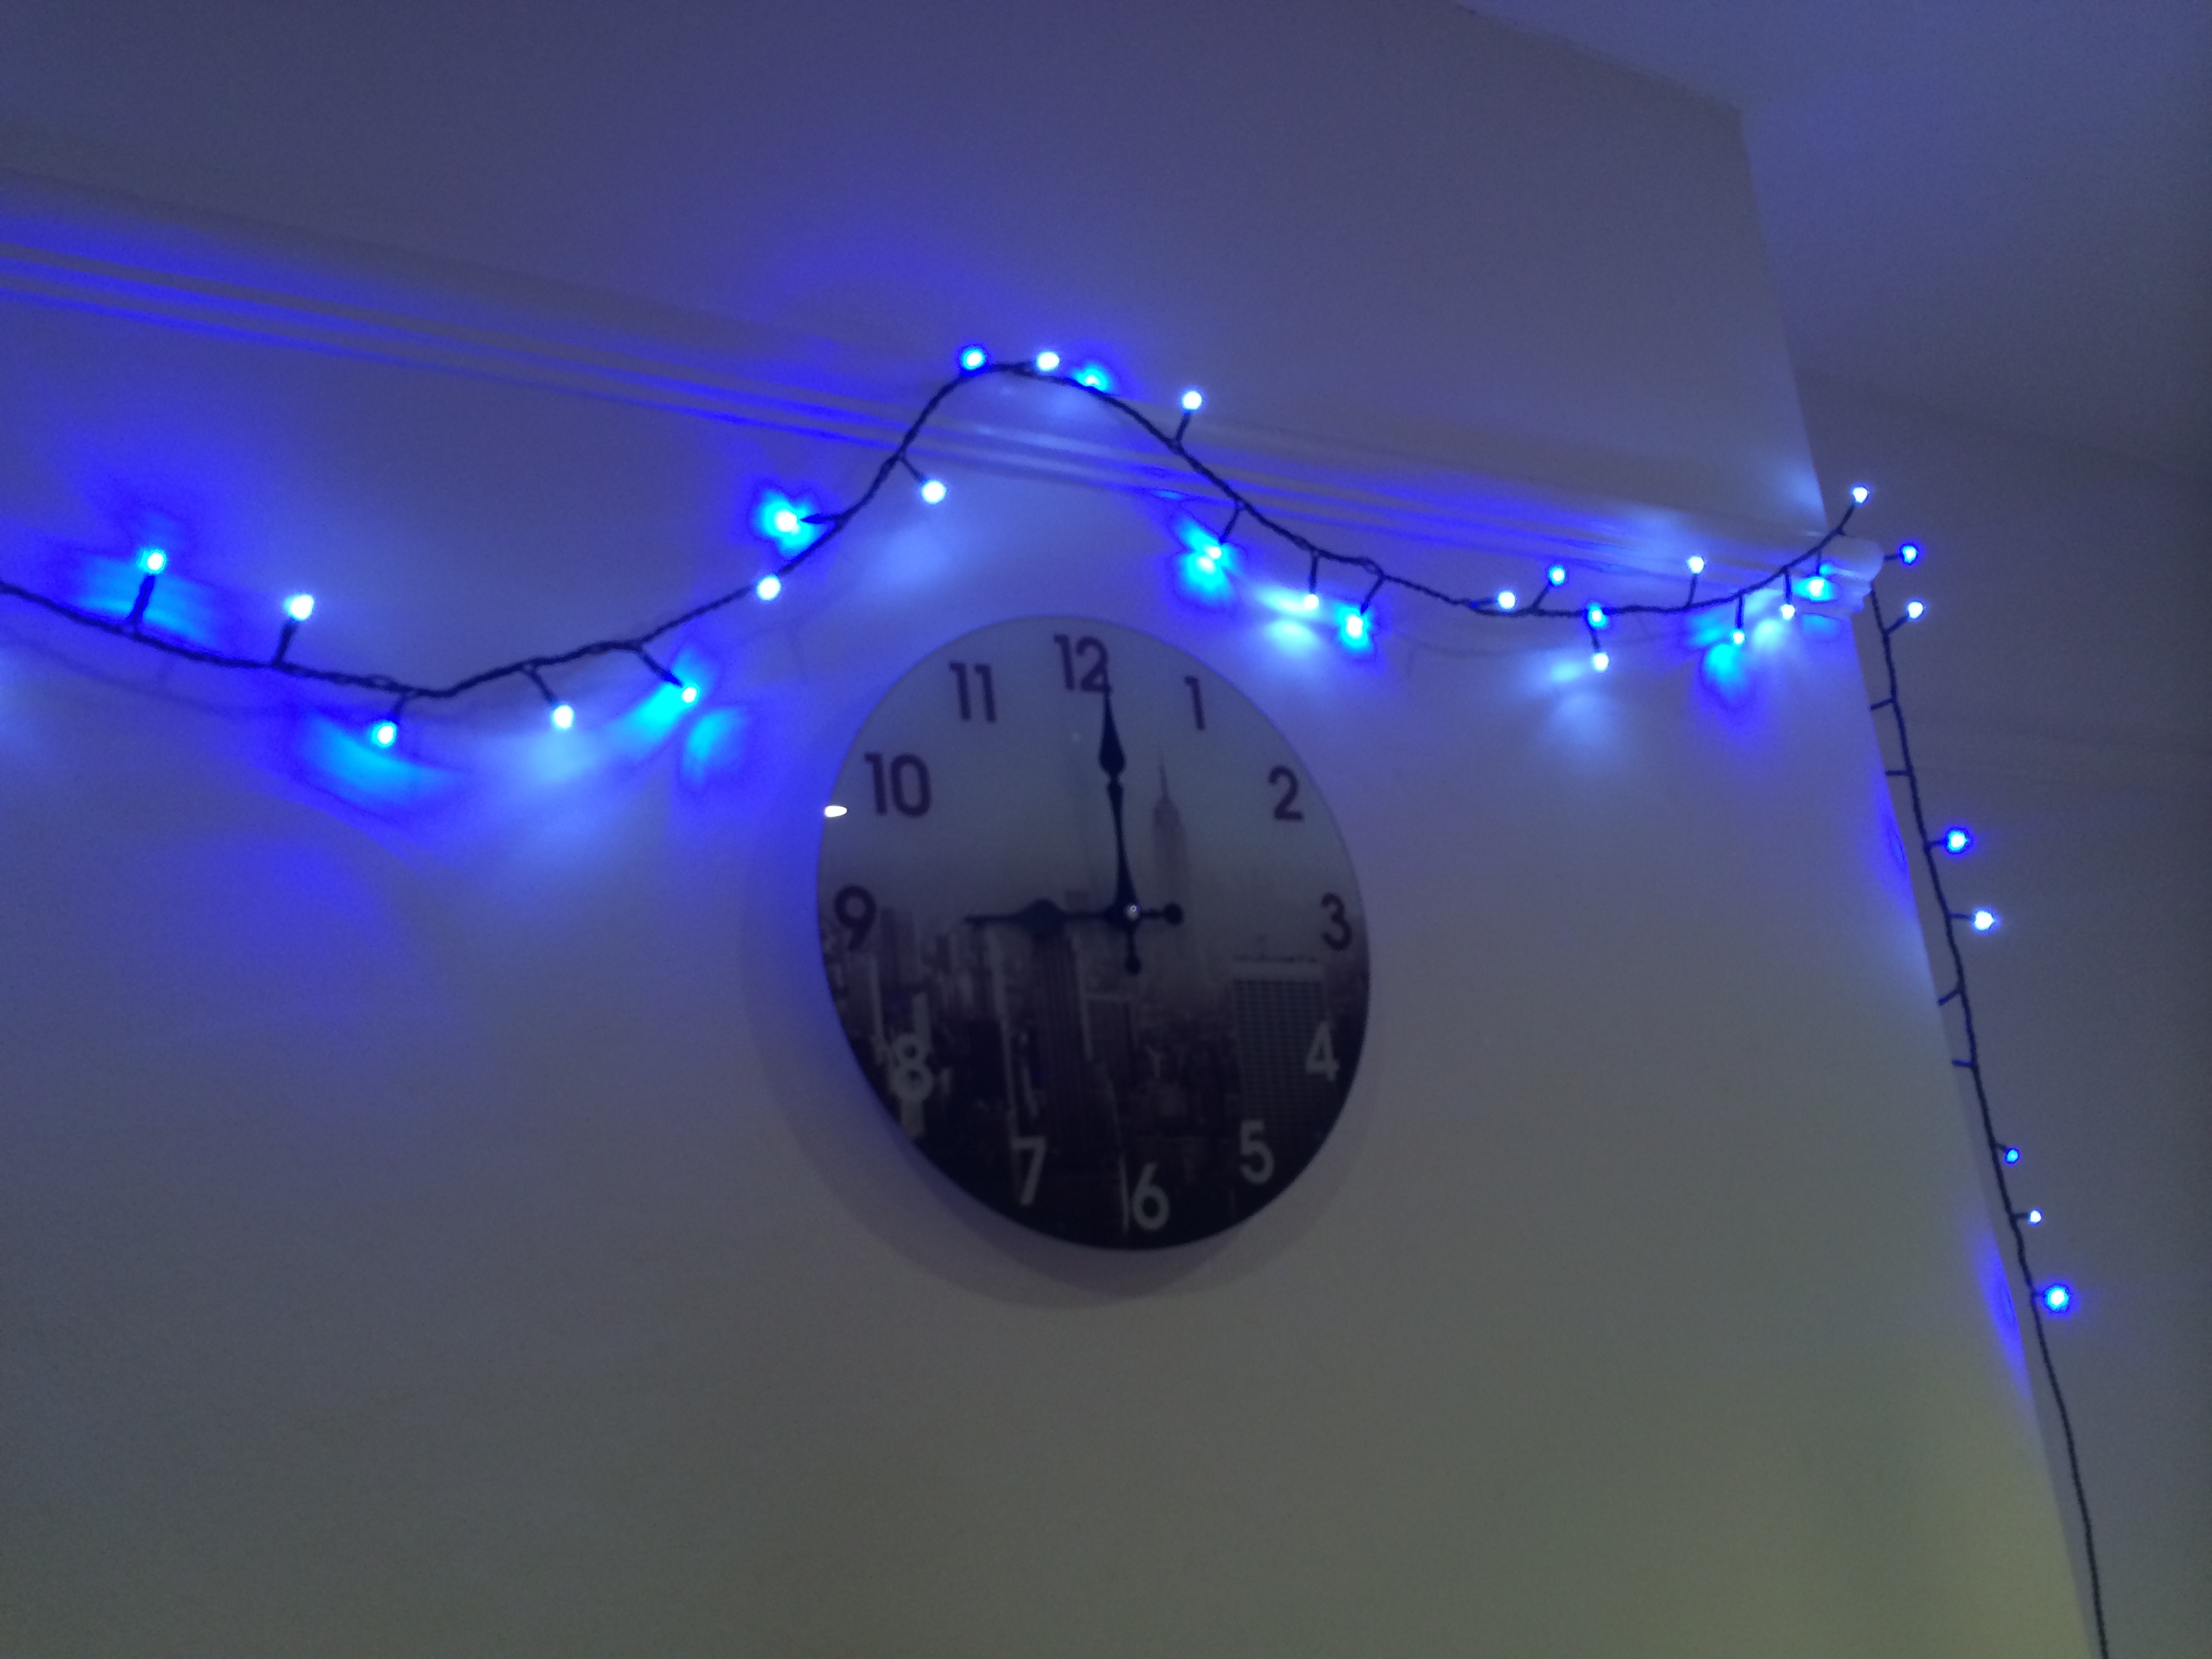
The next thing I have done to jazz up my room for the festive season is add fairy lights. I picked up my blue set from Homebase and the white ones from Primark (they were only £1!) These are so pretty, and I actually end up having them up all year round, but they are particularly apt around Christmas 🙂

I hope you enjoyed the festivities today, and hopefully next week’s post will be up on a Wednesday! Check out my previous Wintry Wednesday here, and I will see you again soon 🙂 xx

How I Wash My Makeup Brushes

Hello. I am back again today (what a busy blogger?!?!) and this time I have a slightly exciting post for you. I have finally sorted out a makeup brush cleaning routine that works really well for me, and I am very glad to share it with you. Enjoy…

Dirty makeup brushes

Dirty makeup brushes

1. Take your pot of manky brushes that have seen better days.

Johnsons Baby Shampoo

Johnsons Baby Shampoo

Squirt in the shampoo

Squirt in the shampoo

2. Squirt a bit of Johnsons Baby Shampoo into a bowl (I use an old craft bowl because that way I don’t have to worry about cleaning it)

Dip the brush

Dip the brush

3. Wet and dip your brush into the shampoo

Swirl to your heart's content

Swirl to your heart’s content

4. Swirl the brush on the back of your hand (or in the bowl if you prefer) to work up a foamy lather.

Rinse and squeeze

Rinse and squeeze

5. Rinse, dip, swirl, repeat… Until the brush rinses clean.

Clean and drying :)

Clean and drying 🙂

Clever rolled flannel ;)

Clever rolled flannel 😉

6. Then when I’ve done all my brushes in this way, I lay them out on a flannel to dry. I roll the flannel up slightly at the brush-handle end to let the water run out of the brushes more easily.

I normally do this once a week (or sometimes once every one and a half weeks :/ ) but I tend to do it in the early afternoon so that the brushes have half a day and the whole night to dry before I need them in the morning.

I hope this helped some of you. I would really recommend picking up a bottle of baby shampoo to wash your brushes with, as it is super gentle but really gets all the gunk out. This one is stocked in most Boots, but I’m sure there are many other brands that work just the same way.

Thanks for reading. How do you wash your makeup brushes? Let me know below… And happy June!

xx 🙂 xx

DIY Lip Scrub/Balm Recipe!

I’m sorry again. I know I am not great at keeping my promises, from now on I think I just won’t promise anything!!! I was meant to post this in the week, but it didn’t happen, so here it is now. Hope you enjoy!

Ingredients:

Vaseline, or another petroleum jelly based lip balm

Clear Honey

White Caster Sugar (for the scrub only)

Brown Demerara Sugar (optional)

Balm

1. Take an empty pot or old lip balm container. I got mine in a travel bottles case for £1 from Primark!

LS2

2. Put in roughly 1/4 of a teaspoon of Vaseline.

LS3

3. Now add in 1/4 of a teaspoon of clear honey and mix them together. I used a new glue spatula to mix.

LS4

4. Put the container in the fridge for 30 minutes, or the freezer for 5 minutes, it’s your choice!

LS7

5. You’re all done, use your finished lip balm as an overnight therapy, or as a subtle warm sheen for your lips in the day.

LS6

Scrub

1. Repeat steps 1-3 above.

2. Add 1/2 – 1 level teaspoon of caster sugar, this quantity depends on how exfoliating you want the scrub to be. Just experiment!!!

LS5

3. Now mix it all together. You can add some Demerara sugar, or another coarser sugar to intensify the exfoliation, but it will work just as well with only caster sugar.

LS1

4. You’re finished! Use this scrub as an overnight therapy for those dry and chapped lips!

I hope you enjoyed reading. If you have any questions or suggestions for future posts then be sure to leave them in the comments. There will be a mini Rimmel haul on the way soon, so look out for that. Thank you! Bye Bye x